To manage your scheduled reports, follow these steps:
1. Sign in to your pcl.LMS account as Administrator and go to Home > Reports.
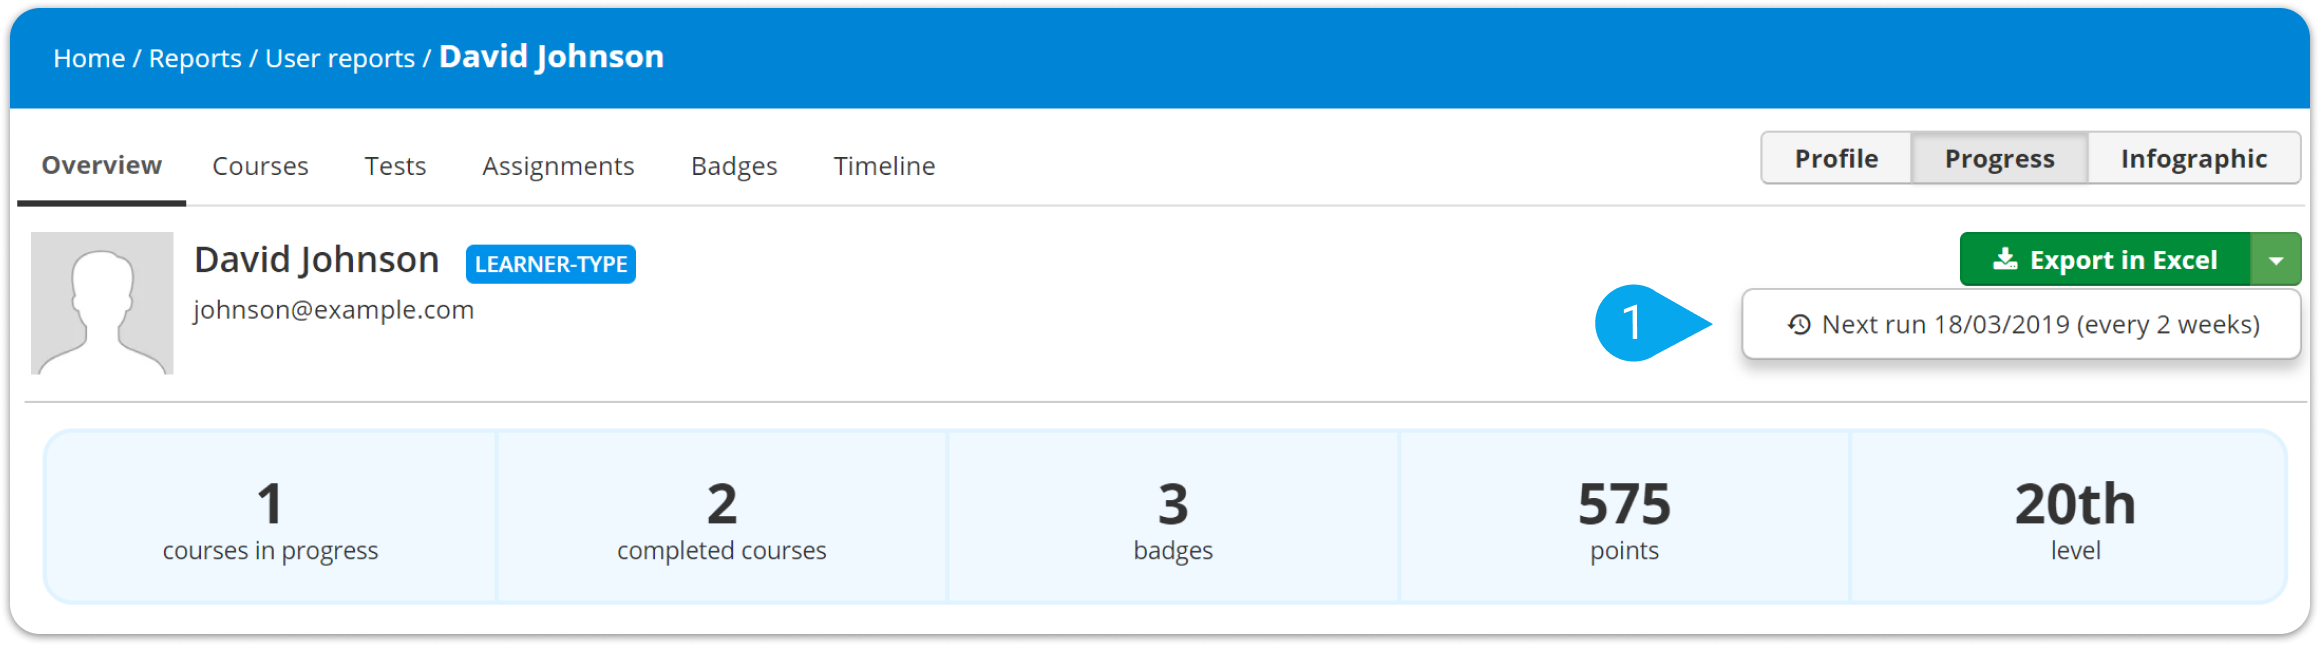
2. On the portal overview tab, click the drop-down symbol next to the Training progress button.
| Note: If you’re on a report page other than the default portal overview, the Training progress button is replaced by the Export in Excel button. |
3. From the drop-down list, choose Schedule or click the listed scheduled report (1).
| Note: If a report has already been scheduled, the date of the next scheduled email (i.e., Next run [date] (every [cycle] weeks or months)) is displayed in place of the Schedule option. |
4. On the dialog box that pops up, go to the All scheduled reports (2) tab.
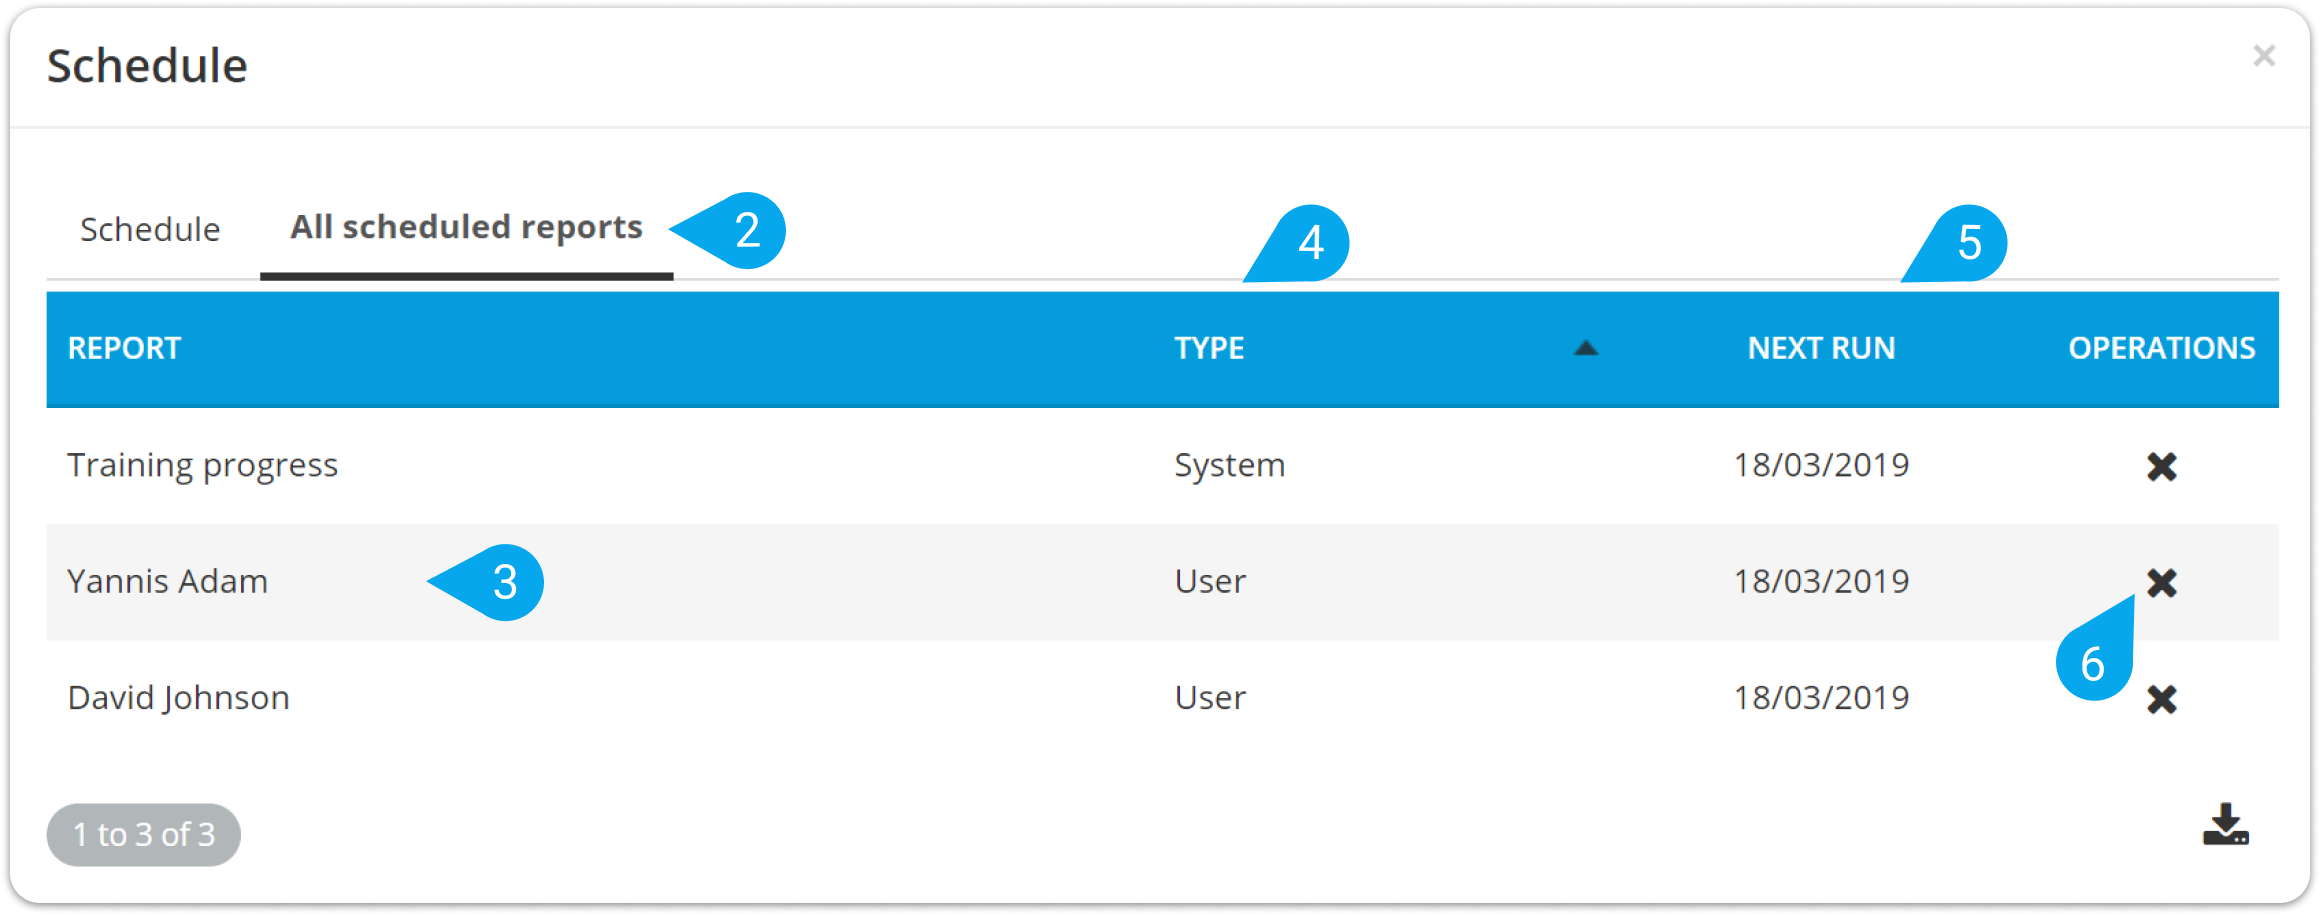
You can see all your scheduled reports by name (3), Type (4), and date of the Next run (5). From here, you can:
- Click the cancel symbol (6) in the Operations column to cancel a scheduled report.
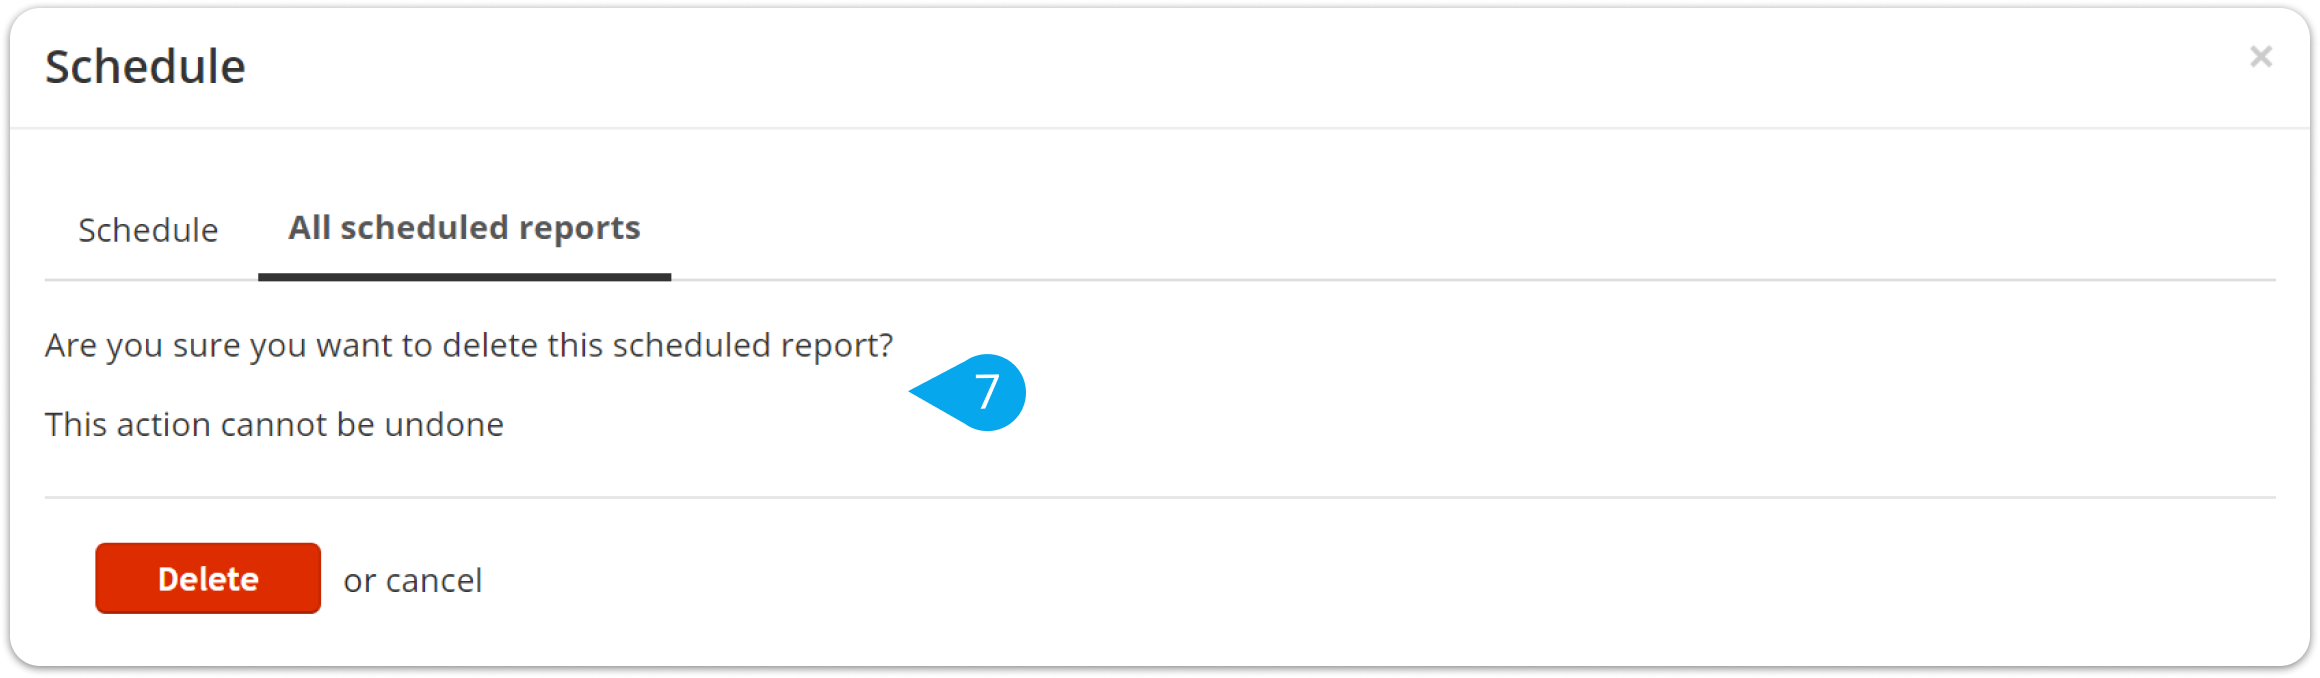
| Note: Deleting a scheduled report is an action that cannot be undone (7). |
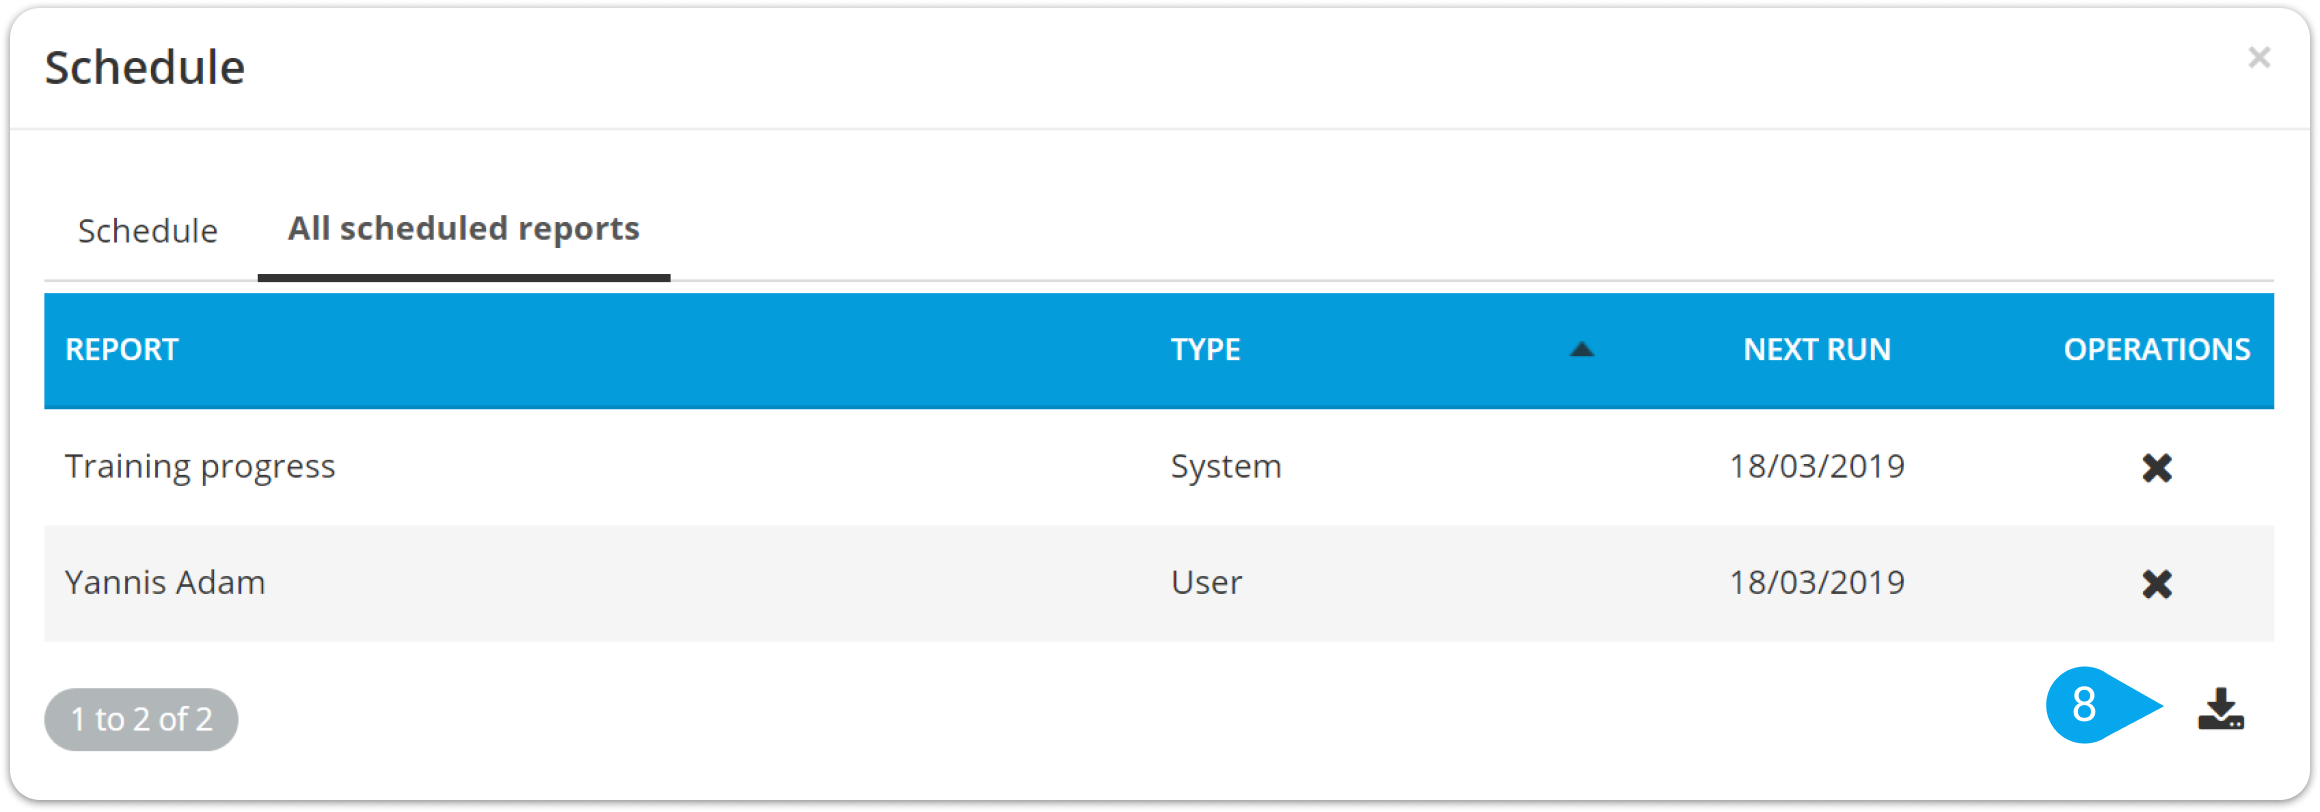
- Click the download symbol (8) to export all your scheduled report data in a CSV file.